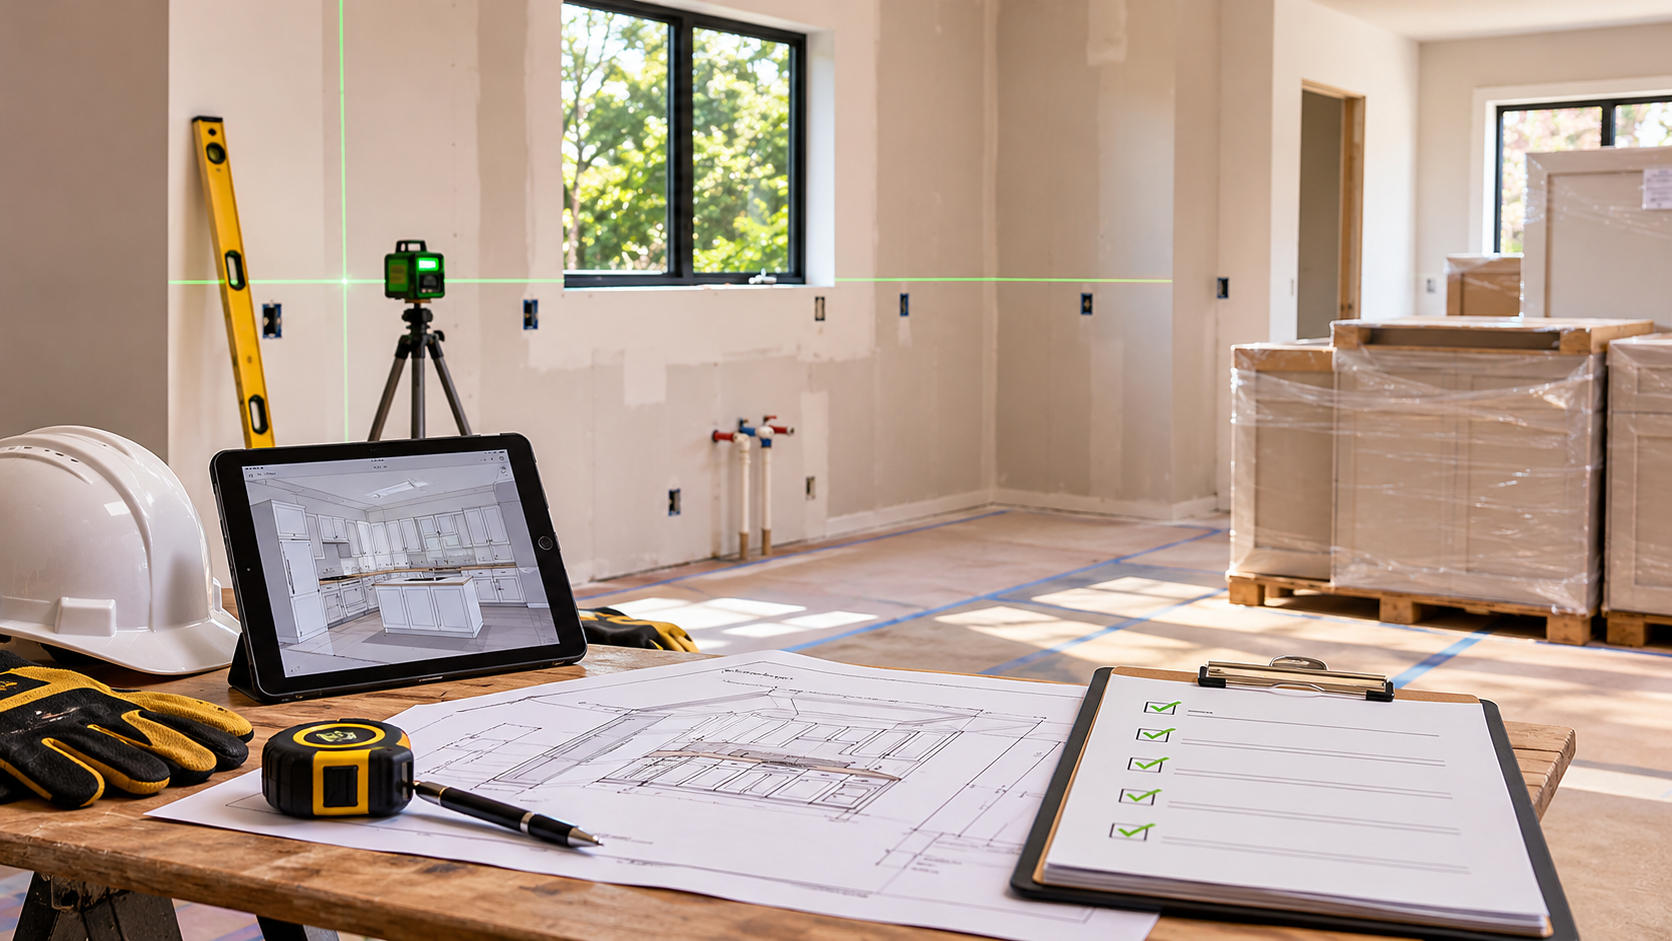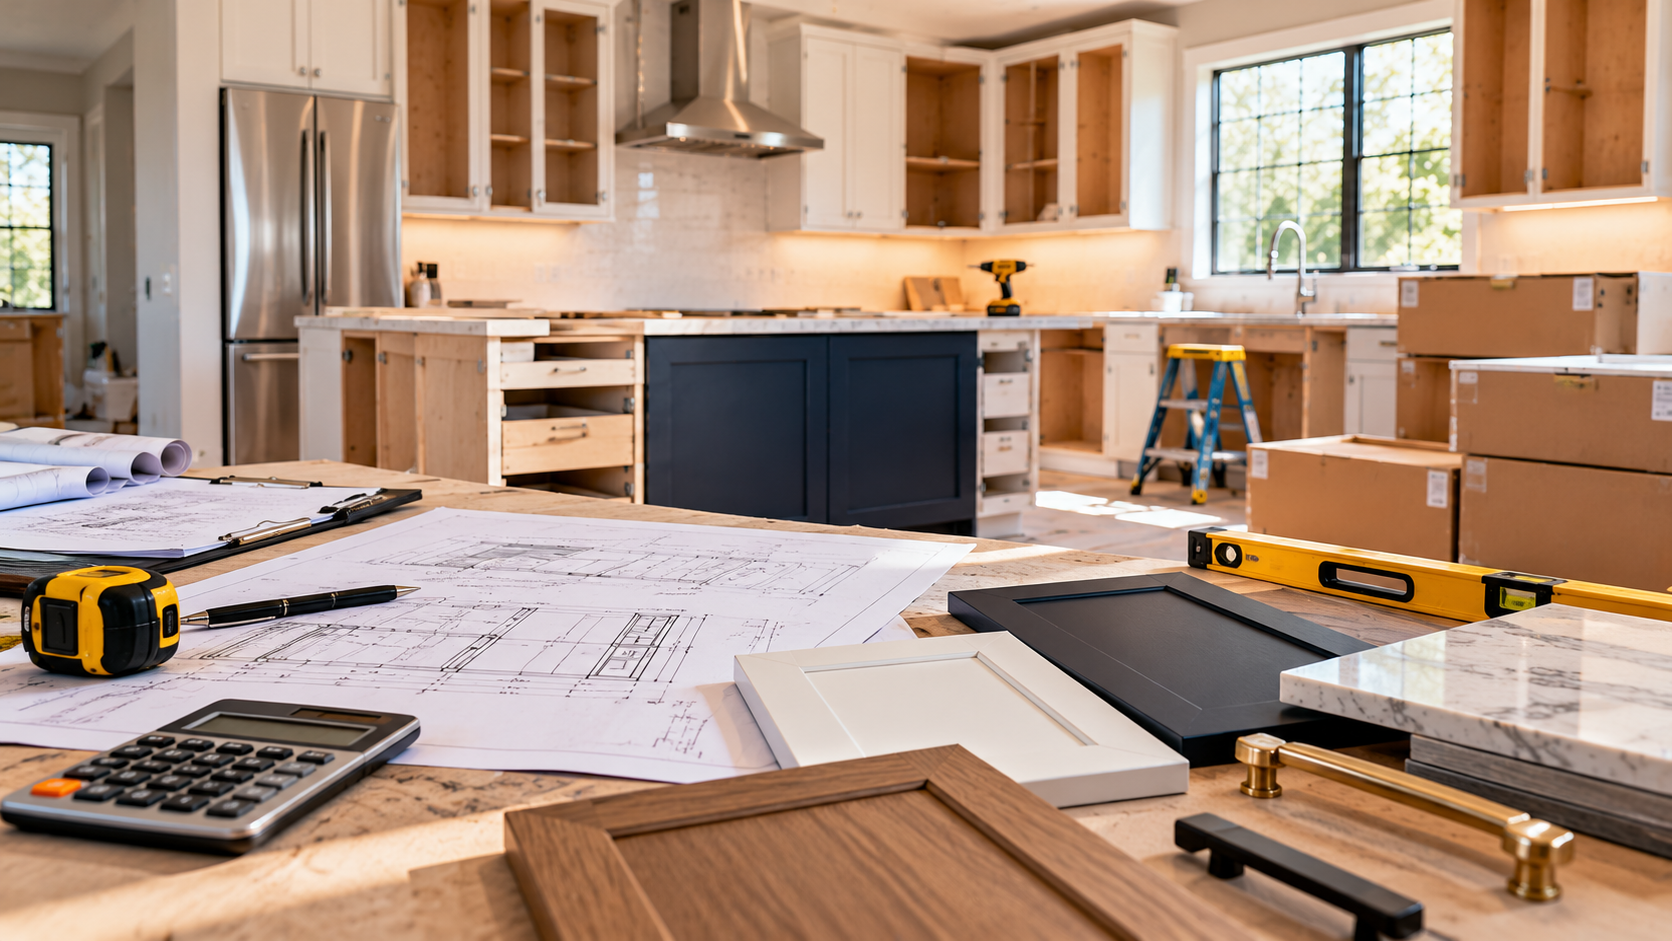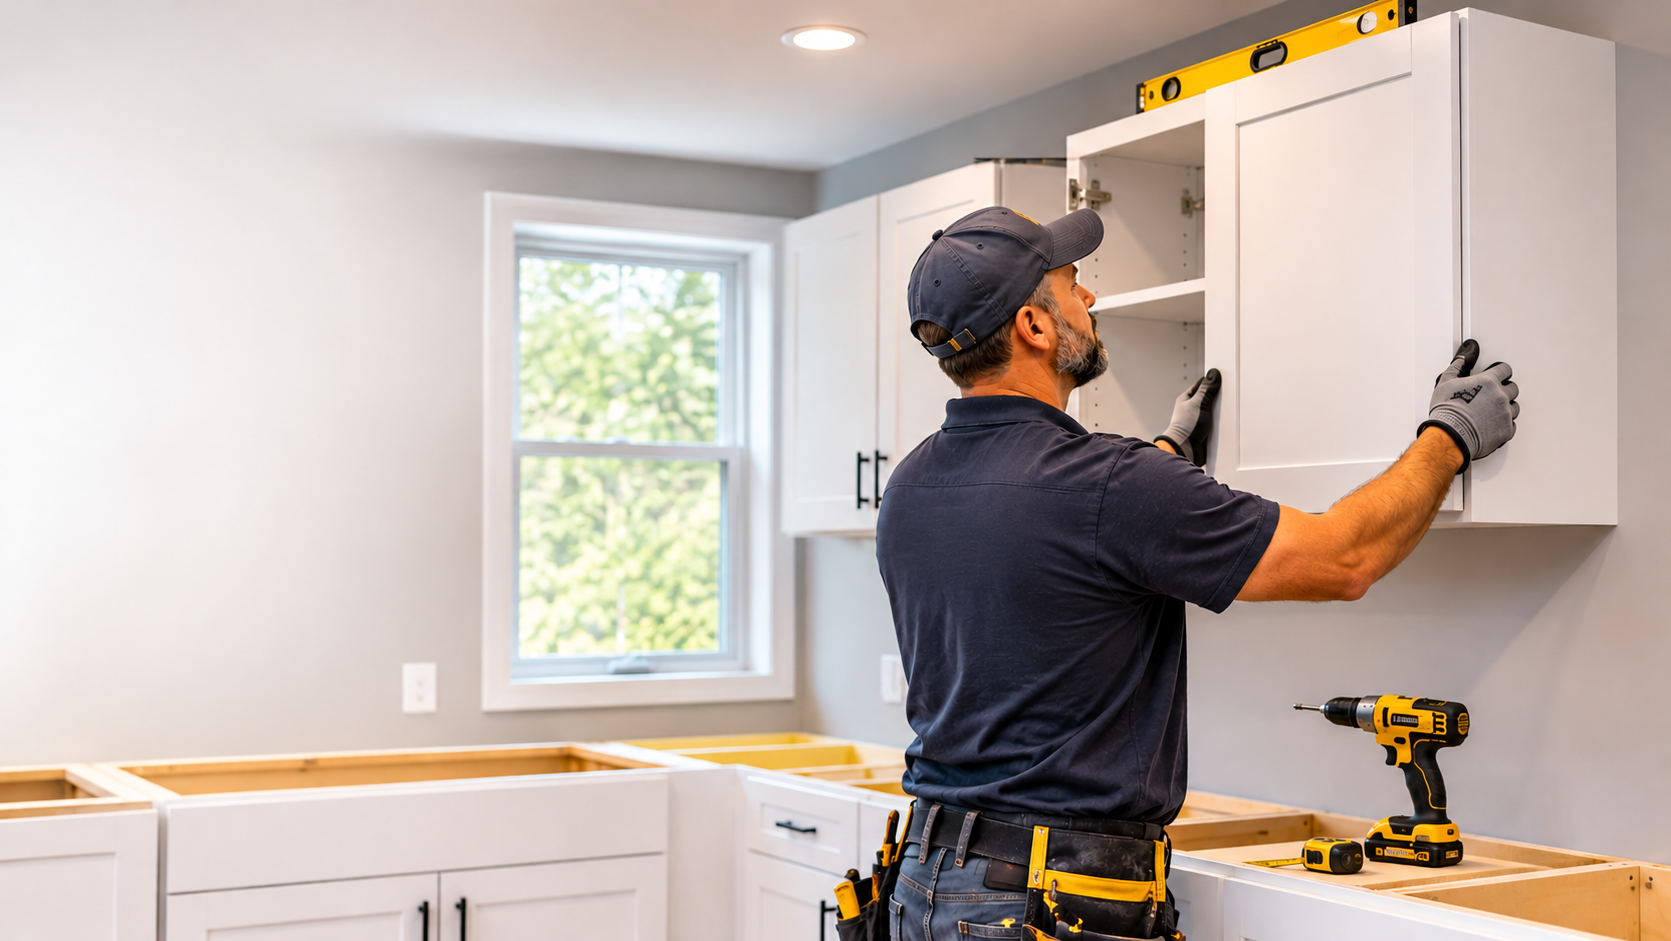

Installing kitchen cabinets is one of the most important stages of a kitchen remodeling or construction project. Proper installation affects more than the appearance of the finished kitchen.
It also determines cabinet stability, door alignment, countertop support, and the long-term functionality of the entire space.
For contractors, builders, and professional installers, understanding the correct kitchen cabinet installation process helps reduce adjustment work, avoid preventable damage, and maintain consistent results across residential and multi-unit projects.
Whether you are installing ready-to-assemble (RTA) cabinets or pre-assembled kitchen cabinets, the basic installation principles remain similar. However, kitchen cabinets construction, mounting systems, wall conditions, and manufacturer specifications can affect the exact procedure.
This guide explains how to install kitchen cabinets step by step, covering wall kitchen cabinets mounting, base cabinet installation, leveling, fastening, alignment, and final adjustments.
Tools and Materials Needed for Kitchen Cabinet Installation
Before starting the installation, make sure the necessary tools and materials are available. Having the right equipment within reach helps maintain accuracy and reduces interruptions during the process.
Essential Tools
-
- Tape measure
- Laser level or long carpenter’s level
- Stud finder
- Cordless drill and driver
- Appropriate drill bits
- Clamps
- Carpenter’s square
- Pencil or marking tool
- Utility knife
- Circular saw or appropriate cutting tool for fillers
- Safety glasses and work gloves
- Step ladder or suitable installation platform
Installation Materials
-
- Cabinet mounting screws specified by the manufacturer
- Cabinet-to-cabinet connector screws
- Wood shims
- Temporary support ledger
- Cabinet filler strips
- Toe-kick panels
- Crown molding or other finishing trim
- Touch-up materials
The required fasteners depend on the cabinet construction and wall type. Always use mounting hardware appropriate for the cabinet manufacturer’s instructions and the structure behind the finished wall.
Step-by-Step Guide to Installing Kitchen Cabinets
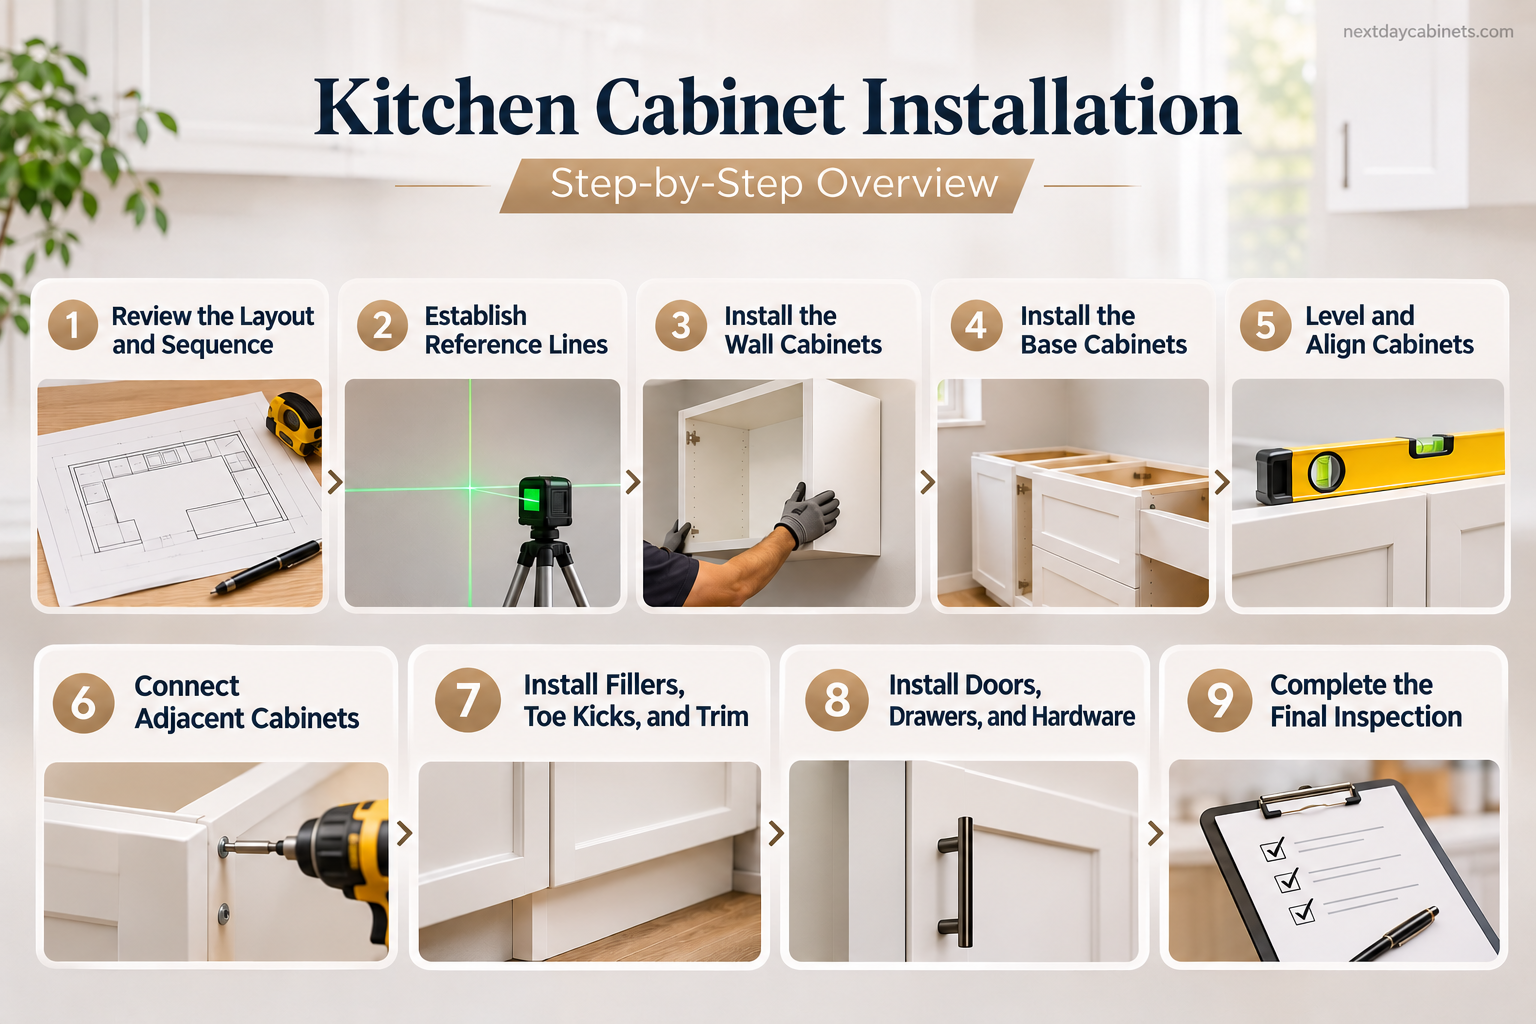
Step 1: Review the Cabinet Layout and Installation Sequence
Before mounting the first cabinet, review the approved kitchen layout and identify the position of every cabinet.
Pay particular attention to:
-
- Corner cabinet locations
- Wall and base cabinet dimensions
- Appliance openings
- Sink and plumbing locations
- Range and refrigerator clearances
- Filler requirements
- Door and drawer opening directions
Identify which cabinet should be installed first. In most standard kitchen installations, work begins with a corner cabinet or the cabinet that establishes the main reference point for the layout.
If the project includes both wall and base cabinets, installing the wall cabinets first is generally more practical. This provides better access to the upper wall and reduces the risk of damaging newly installed base cabinets while working above them.
The manufacturer’s installation instructions should determine the correct sequence whenever a particular cabinet system requires a different approach.
Step 2: Establish Level Reference Lines
Accurate reference lines are essential for a professional kitchen cabinet installation. Walls and floors are not always perfectly straight or level. Even small variations can become noticeable when several cabinets are installed next to each other.
Use a laser level or long carpenter’s level to establish the horizontal reference lines for the installation.
For base cabinets, identify the highest point of the finished floor along the cabinet run. Use this point to determine the correct cabinet height and mark the corresponding level line on the wall.
For wall cabinets, mark the intended bottom or top reference line according to the approved layout.
Also identify and mark the wall studs. These locations are important because wall cabinets must be secured to suitable structural support rather than relying on drywall alone.
Professional Tip: Do not assume that the floor, ceiling, or walls are level simply because they look straight. Check the actual conditions before fastening any cabinet.
Step 3: Install the Wall Cabinets
Wall cabinets are generally installed before base cabinets to provide easier access during mounting. Starting with the designated corner cabinet helps establish a consistent reference for the remaining cabinets.
3.1 Position the First Wall Cabinet
If the installation system allows it, use a temporary ledger board secured to the wall studs to support the cabinet during installation.
With assistance from another installer, lift the first cabinet into position and align it with the reference marks.
Check the cabinet in both directions:
-
-
- Side to side
- Front to back
-
Use suitable shims between the cabinet and wall where necessary to correct alignment and maintain the cabinet’s shape.
3.2 Secure the Cabinet to the Wall
Once the cabinet is correctly positioned, use the specified cabinet mounting screws to secure it to the structural framing. Follow the manufacturer’s requirements for screw type, length, quantity, and placement.
Avoid overtightening. Excessive pressure can damage the cabinet back or pull the cabinet out of alignment. Recheck the level and plumb before moving to the next cabinet.
3.3 Install the Remaining Wall Cabinets
Position the next cabinet beside the first one. Align the cabinet fronts and bottom edges, then use clamps to hold the units together while making adjustments.
Check that both cabinets are level and that their front faces are flush. Once alignment is correct, connect the cabinets using the appropriate cabinet connector screws and secure each unit to the wall framing as specified.
Continue this process along the cabinet run.
Step 4: Install the Base Cabinets
After the wall cabinets are installed, move on to the base cabinets. Start with the designated corner cabinet or the unit identified as the primary reference point in the layout.
4.1 Position the First Base Cabinet
Place the first cabinet in its planned location. Use a level to check the cabinet from side to side and front to back. Because floors are often uneven, shims may be necessary beneath the cabinet or at appropriate support points.
Make small adjustments until the cabinet is level and properly positioned against the reference lines.
4.2 Secure the Base Cabinet
Once the cabinet is correctly positioned, secure it to the wall framing using the specified mounting hardware. Make sure the cabinet remains level after fastening.
The mounting method may vary depending on cabinet construction, installation rails, and manufacturer requirements.
4.3 Install the Remaining Base Cabinets
Position the next cabinet beside the first unit. Align the cabinet fronts and top edges, then clamp the units together.
Check for level, plumb, and consistent spacing before connecting the cabinets. Repeat the process for the remaining base cabinets, continually checking the alignment of the entire cabinet run.
Step 5: Level and Align All Cabinets
Leveling and alignment are among the most important parts of kitchen cabinet installation.
A cabinet run can look acceptable when viewed one unit at a time but still have visible inconsistencies when all cabinets are installed together.
Check the following:
-
- Cabinet tops are aligned.
- Front faces are flush.
- Vertical cabinet sides are plumb.
- Gaps between adjacent units are consistent.
- Corner connections are properly aligned.
- Cabinet boxes remain square.
Use shims to correct uneven wall or floor conditions where appropriate. Do not force cabinets into position by tightening mounting screws excessively.
This can distort cabinet boxes, affect door operation, and create alignment problems. Once the full run has been checked, tighten the fasteners according to the manufacturer’s specifications.
Step 6: Connect Adjacent Cabinets
Connecting neighboring cabinets correctly creates a more consistent and stable installation. Start by bringing the cabinet faces into alignment.
Use clamps to hold the units together and prevent movement while drilling pilot holes. Select connector screws appropriate for the cabinet material and construction.
For framed cabinets, the connection method may differ from that used for frameless cabinets. The screw location should be selected to avoid visible damage, hardware interference, or splitting.
After connecting the units:
-
- Remove the clamps carefully.
- Check that the cabinet faces remain flush.
- Inspect the gaps between cabinet doors and frames.
- Recheck the level and alignment.
- Confirm that all wall mounting fasteners remain secure.
Never assume that connecting two cabinets together replaces the need to secure them properly to the wall or floor as required by the installation system.
Step 7: Install Fillers, Toe Kicks, and Trim
Once the cabinet boxes are installed and aligned, complete the visible finishing details.
Cabinet Filler Strips
Filler strips are used to close gaps between cabinets and adjacent walls or other fixed surfaces. Measure the gap carefully at multiple points, particularly when the wall is uneven.
Transfer the measurements to the filler material and cut it to fit. A scribed filler strip can provide a cleaner fit against an irregular wall.
Toe-Kick Panels
Toe-kick panels cover the recessed space beneath base cabinets. Measure and cut the panels according to the kitchen cabinets system’s specifications. Secure them using the recommended clips, fasteners, or installation method.
Check that the finished panel is properly aligned and does not interfere with cabinet doors or drawers.
Crown Molding and Decorative Trim
If the kitchen design includes crown molding, light rail molding, or other decorative elements, install them after the cabinet boxes are properly secured.
Make sure the trim joints are clean and consistent. Finishing details should complement the cabinet layout rather than conceal installation errors.
Step 8: Install Doors, Drawers, and Hardware
After the cabinet boxes are securely installed, reinstall or fit the cabinet doors, drawers, and hardware according to the manufacturer’s instructions.
Check each door for:
-
- Consistent gaps
- Proper hinge alignment
- Smooth opening and closing
- Correct positioning
- Secure hinge attachment
Adjust the hinges where necessary to achieve even spacing between doors. Test every drawer to confirm that the slides operate smoothly and that the drawer fronts align with neighboring units.
Install handles and knobs according to the approved hardware layout. Small adjustments at this stage can make a significant difference in the overall appearance of the finished kitchen.
Step 9: Complete the Final Installation Inspection
Before considering the installation complete, inspect the entire kitchen cabinets system. A final inspection helps identify minor issues before countertops, appliances, and other finishing work make access more difficult.
Kitchen Cabinet Installation Checklist
- All cabinets are securely mounted.
- Wall cabinets are properly supported by structural framing.
- Base cabinets are level and stable.
- Cabinet fronts are aligned.
- Adjacent cabinets are securely connected.
- Cabinet doors open and close correctly.
- Drawers operate smoothly.
- Filler strips fit properly.
- Toe-kick panels are securely installed.
- Decorative trim is properly aligned.
- No visible cabinet damage occurred during installation.
- Plumbing and electrical access points remain unobstructed.
- The completed installation matches the approved layout.
Once the inspection is complete, the installation team can coordinate the remaining work, including countertop installation, plumbing connections, appliance placement, and final finishing.
Common Kitchen Cabinet Installation Mistakes to Avoid
Even experienced installation teams can encounter problems when basic installation principles are overlooked.
Here are some common mistakes to watch for.
1. Installing Cabinets Without Checking the Floor
Uneven floors can cause base cabinets to sit at different heights.
How to avoid it: Identify the highest point of the floor and use consistent reference lines. Adjust cabinets with appropriate shims as needed.
2. Mounting Wall Cabinets Without Proper Structural Support
Wall cabinets carry considerable weight, especially when filled with dishes and kitchen equipment.
How to avoid it: Locate the wall studs and use the specified mounting hardware. Never rely on drywall alone for standard cabinet mounting.
3. Installing Base Cabinets Before Wall Cabinets
Installing base cabinets first can restrict access to the upper wall and make wall cabinet installation more difficult.
How to avoid it: When the project includes both cabinet types, install wall cabinets first unless the cabinet system or project conditions require a different sequence.
4. Failing to Align Adjacent Cabinets
Poor alignment creates uneven gaps and inconsistent cabinet fronts.
How to avoid it: Clamp neighboring cabinets together, align their faces, and check the level before connecting them.
5. Overtightening Mounting Screws
Excessive tightening can pull cabinet boxes out of shape or damage the cabinet structure.
How to avoid it: Use the correct fasteners and tighten them according to the manufacturer’s instructions.
6. Cutting Fillers Without Checking Wall Conditions
A wall that appears straight may have small variations that affect the final fit.
How to avoid it: Measure the gap at multiple points and scribe filler strips when necessary.
7. Skipping the Final Door and Drawer Adjustments
Even correctly installed cabinet boxes may need minor hinge or drawer-slide adjustments.
How to avoid it: Inspect every door and drawer before completing the project.
RTA vs. Pre-Assembled Cabinets: Installation Considerations
Both ready-to-assemble and pre-assembled kitchen cabinets can be used in residential remodeling, new construction, and larger building projects.
However, their installation workflows are not identical. RTA cabinets are shipped in components and require assembly before installation.
Important considerations include:
-
- Following the manufacturer’s assembly instructions
- Checking cabinet squareness after assembly
- Confirming that joints and fasteners are properly secured
- Protecting finished surfaces during assembly
- Allowing sufficient time for assembly before installation
Pre-assembled cabinets arrive with the cabinet boxes already constructed. Installation teams can generally move directly to positioning, leveling, and mounting after completing the necessary project checks.
Important considerations include:
-
- Handling and transporting larger cabinet units carefully
- Removing doors and drawers when recommended
- Protecting corners and finished surfaces
- Confirming cabinet dimensions and mounting locations
- Following the manufacturer’s specific mounting requirements
The best option depends on the project’s schedule, labor availability, cabinet specifications, and installation requirements.
Final Thoughts
A successful kitchen cabinet installation depends on careful positioning, proper structural support, accurate leveling, and consistent alignment.
From mounting the first wall cabinet to securing the final base unit, every step contributes to the stability, appearance, and functionality of the finished kitchen.
For contractors, builders, and professional installers, following manufacturer-specific installation instructions and maintaining consistent quality checks can help reduce rework and deliver better project outcomes.
Whether you are working with RTA or pre-assembled cabinetry, a systematic installation process is essential for achieving a clean, professional result.
Planning your next kitchen cabinet project? Explore NextDAY Cabinets’ cabinet options and find solutions for your residential construction, remodeling, and professional kitchen cabinets projects.
Frequently Asked Questions About Installing Kitchen Cabinets
Should you install wall cabinets or base cabinets first?
In most standard kitchen cabinets installations, wall cabinets are installed first. This provides better access to the upper wall and reduces the risk of damaging base cabinets during installation.
How are kitchen cabinets attached to the wall?
Kitchen cabinets are typically secured to structural wall framing using manufacturer-approved cabinet mounting screws. The correct fastener type and installation method depend on the cabinet construction and wall conditions.
How do you level kitchen cabinets on an uneven floor?
Installers use a level and suitable shims to compensate for differences in floor height. The cabinet should be adjusted until it is level and properly aligned with the surrounding units.
Can kitchen cabinets be installed without wall studs?
Standard wall kitchen cabinets installations require suitable structural support. Drywall alone is generally not sufficient. If conventional stud locations are unavailable, an appropriate alternative support system must be designed and approved for the wall and cabinet loads.
How long does it take to install kitchen cabinets?
Installation time depends on the number of kitchen cabinets layout, cabinet type, wall conditions, and the experience of the installation team. A small kitchen may take considerably less time than a large or multi-unit project.
Are RTA cabinets harder to install than pre-assembled cabinets?
RTA cabinets require an additional assembly stage before mounting. Pre-assembled cabinets arrive with their boxes constructed, which can simplify the installation workflow. Both types require accurate positioning, leveling, and secure fastening.
Should countertops be installed before or after kitchen cabinets?
In a typical kitchen project, base cabinets are installed, leveled, and secured before countertops are measured and installed. Countertop installation requirements may vary depending on the material and project specifications.