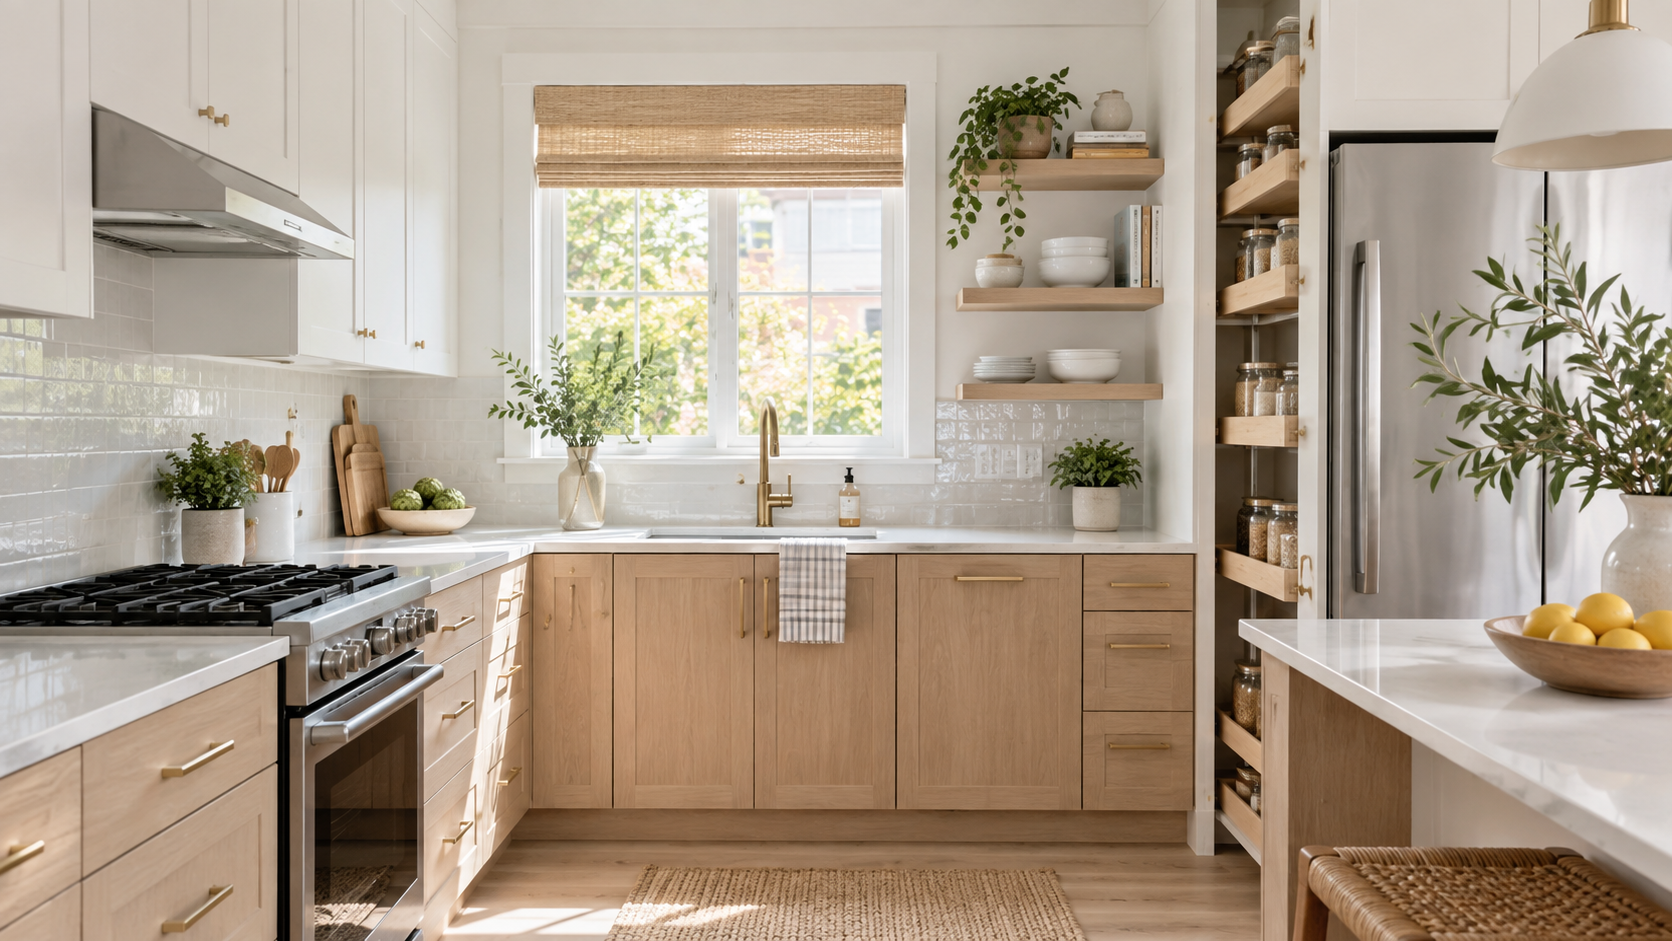

A kitchen island can add valuable storage, extra countertop space, seating, and a more functional work area without requiring a completely custom-built cabinetry system. One of the more practical ways to build a kitchen island is to use RTA kitchen cabinets as the foundation.
RTA, or ready-to-assemble, cabinets arrive flat-packed and are assembled before installation. Because the cabinet boxes are manufactured to standard dimensions, they can be combined to create different island configurations while keeping the project more manageable for homeowners and contractors. NextDAY Cabinets supplies RTA and assembled kitchen cabinets throughout the Mid-Atlantic region, with distribution centered in Chantilly, Virginia and additional locations including Alexandria, Woodbridge, Beltsville, Richmond, and the Chicago area.
This guide explains how to build a kitchen island with RTA cabinets in four practical steps, from planning and measuring to assembly, securing the cabinets, and finishing the island.
Important: Cabinet installation involves measuring, fastening, electrical considerations, and potentially plumbing or flooring work. If your island includes electrical outlets, plumbing, gas, or structural modifications, work with the appropriate licensed professional.
What Is a Kitchen Island?
A kitchen island is a freestanding or semi-freestanding cabinet and countertop configuration positioned within the kitchen. Depending on the layout, an island can provide additional:
- Storage
- Food preparation space
- Seating
- Cabinet organization
- Appliance space
- Work surface
- Visual separation in an open-concept kitchen
A basic island does not necessarily require specialized island cabinetry. Standard base RTA cabinets can be combined and finished with appropriate panels, fillers, end panels, and a countertop to create a cohesive built-in appearance.
The right configuration depends on the available floor space, cabinet dimensions, walkways, appliance locations, and the intended use of the island.
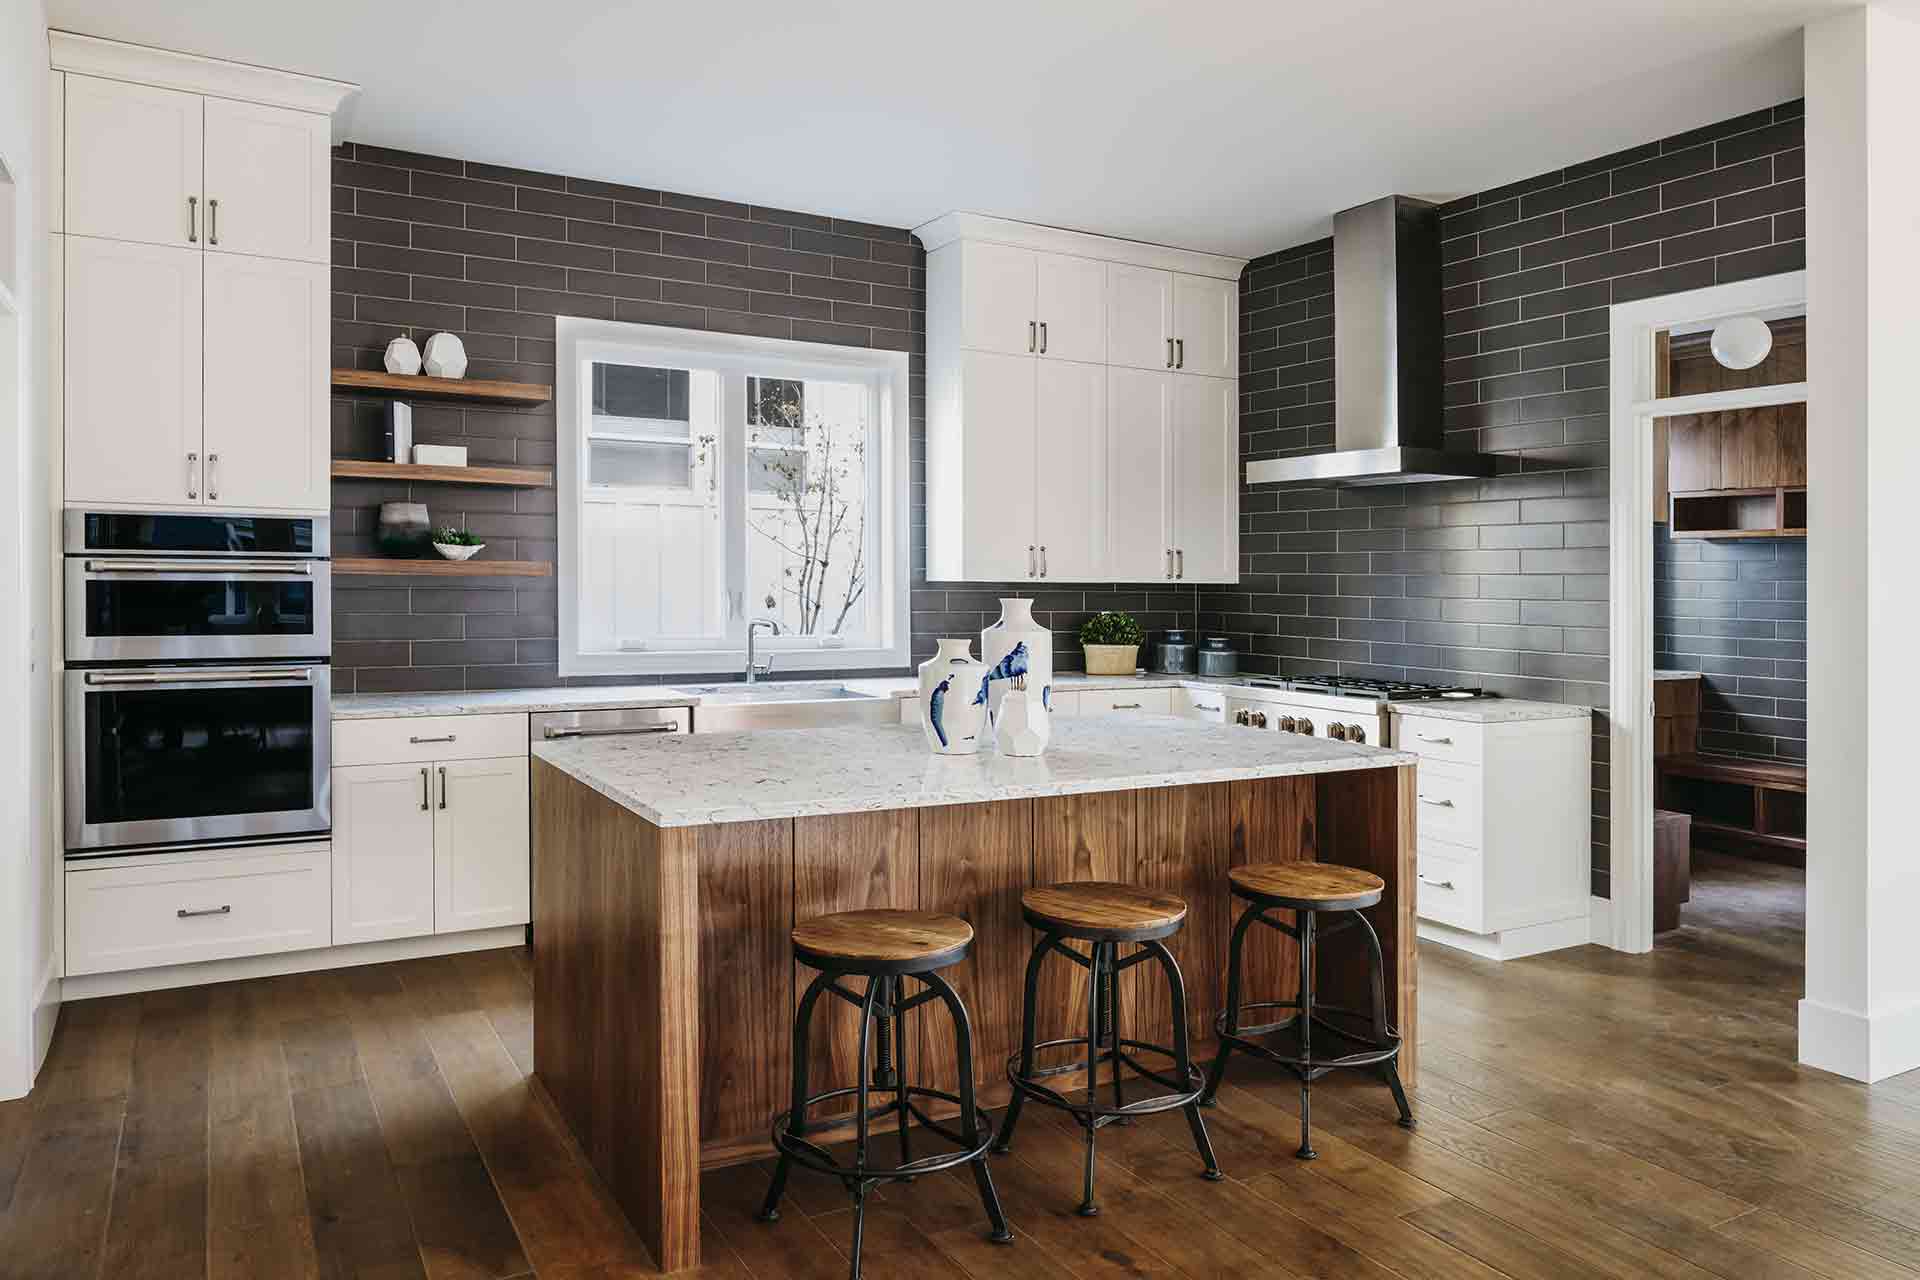 Why Use RTA Cabinets to Build a Kitchen Island?
RTA cabinets can be a practical option for kitchen islands because they are designed to be transported efficiently and assembled before installation. NextDAY describes RTA cabinets as flat-pack cabinetry and offers both RTA and assembled kitchen options.
Using RTA cabinets for an island can provide several advantages:
Flexible Configuration
Multiple cabinet sizes can be combined to create an island appropriate for the available space.
Cost Control
RTA cabinets can offer lower material and shipping costs than many pre-assembled alternatives. NextDAY’s current comparison guide estimates RTA cabinets can cost 20–50% less than comparable pre-assembled cabinets, depending on the project.
Efficient Shipping and Handling
Because RTA cabinets are shipped flat-packed, they can be easier to transport and handle than fully assembled cabinetry.
More Design Choices
NextDAY offers multiple cabinet brands, door styles, colors, and configurations, giving contractors and homeowners flexibility when planning an island. Its product range includes Shaker, flat-panel, raised-panel, frameless, and other cabinet styles depending on the collection.
For an overview of the available options, browse NextDAY’s kitchen cabinet collection.
What Should You Consider Before Building a Kitchen Island?
The most important work happens before you assemble a single cabinet.
A kitchen island needs enough surrounding space to allow people to walk, open cabinet and appliance doors, and work comfortably.
Before ordering your cabinets, determine:
- The maximum island length and width
- Desired island height
- Number and size of base cabinets
- Seating requirements
- Countertop overhang
- Appliance locations
- Electrical requirements
- Plumbing requirements
- Flooring conditions
- Cabinet finish and door style
- End-panel requirements
- How the back of the island will be finished
Accurate measurements are particularly important because an island that is too large can interfere with kitchen circulation.
NextDAY provides a measuring guide as part of its project resources, although the current page is listed as “Coming Soon.” For more detailed planning, NextDAY also offers professional design assistance through its resources and showroom network.
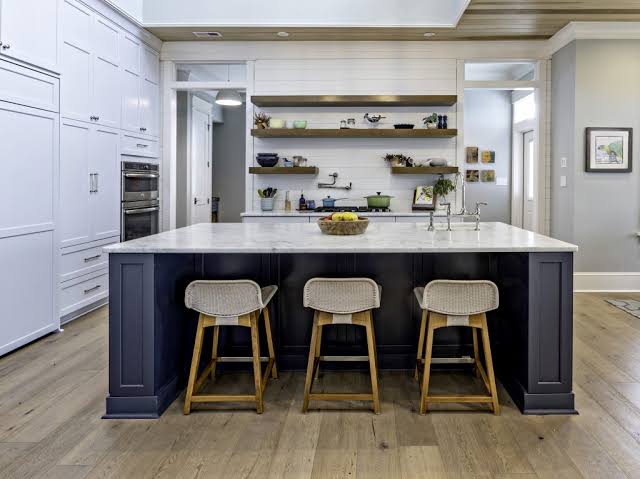 How Much Space Do You Need Around a Kitchen Island?
A comfortable island layout requires sufficient clearance on all sides.
For many kitchens, designers commonly plan approximately 36 inches of clearance around an island as a starting point, with additional room often desirable where two people need to work or where appliances open toward the walkway.
However, the exact clearance should be evaluated according to the specific kitchen layout, cabinet depth, appliance doors, traffic patterns, and accessibility requirements.
For example, an island may physically fit into a room but still create a poor layout if a dishwasher door or refrigerator door blocks the main walkway.
Before ordering cabinets, map the proposed island on the floor using painter’s tape or temporary boxes. Walk around the planned footprint and open nearby appliance doors to test the available clearance.
What Type of Cabinets Should You Use for a Kitchen Island?
Standard base cabinets are generally the starting point for a cabinet-built island.
The exact cabinet configuration depends on what you want the island to do.
Storage-Focused Island
Use drawer and base cabinets to create additional kitchen storage.
Seating Island
Use base cabinets with countertop overhang on one side to create space for stools.
Cooking Island
If the island will contain a cooktop or other appliance, cabinet and countertop planning becomes more complex and may require electrical or gas work.
Sink Island
A sink island requires plumbing considerations, appropriate cabinet configuration, and countertop preparation.
Large Multi-Function Island
A larger island can combine drawers, storage, seating, an appliance, and additional work surface.
NextDAY’s catalog resources can be useful when comparing available cabinet configurations and product lines. You can browse the NextDAY cabinet catalogs before finalizing your cabinet list.
How to Build a Kitch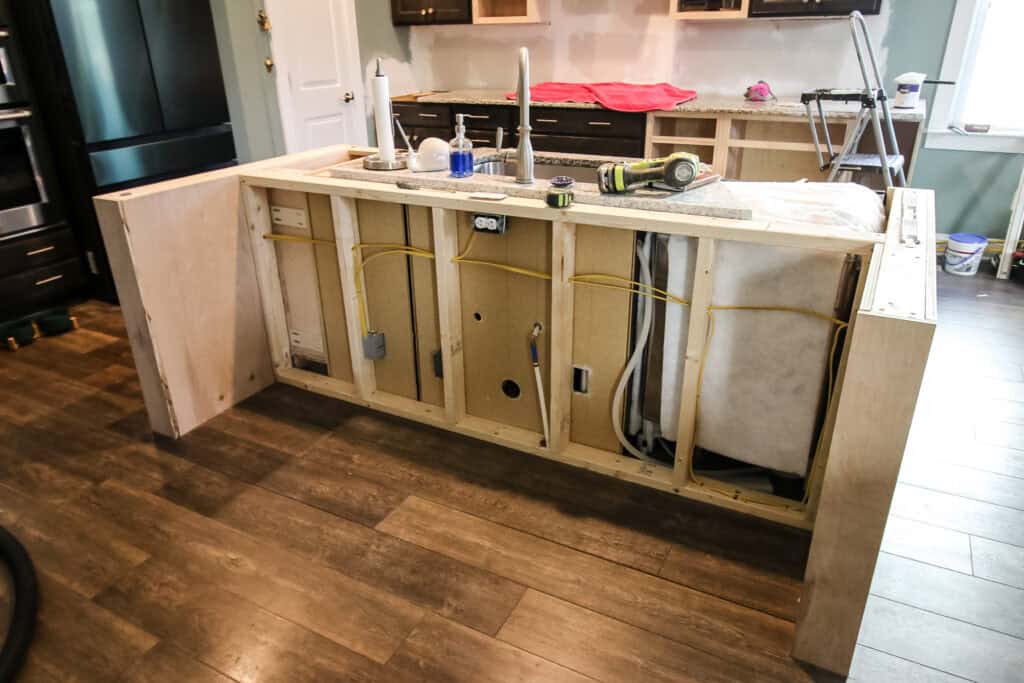 en Island in 4 Steps
Building a kitchen island with RTA cabinets can be broken into four main stages:
1. Plan and measure the island
2. Assemble the RTA cabinets
3. Connect and secure the cabinet boxes
4. Finish the island with panels, countertop, and accessories
Let’s look at each step in detail.
Step 1: Plan and Measure Your Kitchen Island
Start by determining the island’s overall footprint before selecting individual cabinets.
Measure the available kitchen area and mark the proposed island location on the floor.
Determine Island Size
Your island size will depend on:
- Available floor space
- Number of cabinets required
- Desired storage
- Seating requirements
- Countertop size
- Appliance requirements
A simple island can consist of two or three base cabinets, while a larger configuration may use several cabinets arranged side by side.
Plan the Cabinet Layout
Create a cabinet list before ordering.
For example, your island might include:
- 30-inch base cabinet
- 24-inch drawer base
- 30-inch base cabinet
- End panels
- Fillers
- Toe-kick material
The exact dimensions will depend on the cabinet line you select.
Plan for Seating
If you want stools on one side, remember that countertop overhang is necessary for comfortable legroom.
Don’t assume the cabinet itself provides enough space for seating. The countertop design and support structure need to account for the overhang.
Plan for Utilities
An island with a sink, dishwasher, electrical outlets, cooktop, or other appliance needs additional planning.
Electrical and plumbing work should be completed according to applicable local requirements and by qualified professionals where required.
Step 2: Assemble Your RTA Cabinets
Once the layout is finalized, assemble the RTA cabinets according to the manufacturer’s instructions.
RTA cabinets arrive flat-packed with components designed to be assembled on site. NextDAY’s resources describe RTA products as cabinets that can be picked up or shipped for assembly, while assembled options are also available for projects that do not require on-site cabinet assembly.
Tools You May Need
Depending on the cabinet manufacturer and installation method, common tools include:
- Drill/driver
- Screwdriver bits
- Tape measure
- Level
- Clamps
- Carpenter’s square
- Pencil
- Stud finder
- Appropriate cabinet screws
- Safety glasses
Always follow the assembly instructions supplied with your specific cabinet line.
Check Every Cabinet for Damage
Before starting assembly, inspect the boxes and components.
Look for:
- Damaged panels
- Missing hardware
- Incorrect cabinet sizes
- Damaged doors
- Scratched finishes
NextDAY’s RTA cost guide recommends a batch assembly approach so missing or damaged components can be identified before installation progresses. It also recommends checking cabinet boxes for square during assembly because misalignment can affect doors and drawers.
Keep Cabinets Square
A square cabinet box is essential.
After assembling each cabinet, check that it is properly aligned before moving to the next stage. A cabinet that is slightly out of square can create problems when several units are joined together.
Step 3: Connect and Secure the RTA Cabinets
Once the individual cabinet boxes are assembled, position them according to your planned island layout.
This is where the separate cabinets begin functioning as one unit.
Align the Cabinets
Place the cabinets side by side and make sure:
- Fronts are flush
- Tops are level
- Cabinet sides are properly aligned
- Door and drawer clearances are consistent
Use clamps where appropriate to hold cabinet boxes in alignment before fastening them together.
Fasten Adjacent Cabinets
Connect the cabinets using the appropriate screws and fastening method for the cabinet construction.
Avoid overtightening screws because excessive pressure can damage cabinet components.
Level the Entire Island
Use a level across the cabinets from multiple directions.
The island needs to be level not only from left to right but also front to back.
This is particularly important before installing the countertop.
Secure the Island to the Floor
Unlike wall cabinets, a freestanding island does not have a wall behind it to provide stability.
The cabinet assembly needs to be securely anchored to the floor or an appropriately constructed base.
The exact anchoring method depends on the flooring, cabinet construction, and installation situation.
If the island includes heavy countertops, appliances, or plumbing, proper anchoring becomes especially important.
For trade projects, NextDAY’s professional design support can help contractors plan cabinet configurations before ordering.
Step 4: Finish the Kitchen Island With Panels and a Countertop
After the cabinet boxes are assembled, connected, and secured, the island still needs its finishing components.
This is what transforms a group of standard base cabinets into a finished kitchen island.
Install End Panels
The exposed ends of the island should generally receive finished end panels or another manufacturer-approved finishing solution.
End panels help the island look intentional and built-in rather than like a row of unfinished cabinet boxes.
Finish the Back of the Island
Depending on the cabinet configuration, the back of the island may be visible from the living or dining area.
You can finish the back using:
- Finished panels
- Decorative panels
- Matching cabinetry
- Open shelving
- Furniture-style details
The correct option depends on the cabinet line and the look you want.
Install Toe Kick
A matching toe kick helps hide the space beneath the base cabinets and creates a finished appearance.
Add Hardware
Install cabinet pulls and knobs after the cabinet doors and drawers are properly aligned.
Hardware is an easy way to reinforce the overall kitchen design.
Install the Countertop
The countertop should only be installed after the cabinet base is fully secured, level, and ready to receive the countertop material.
Countertop fabrication and installation may require specialized tools and professional fabrication, particularly for stone, quartz, or other heavy materials.
Make sure the countertop plan accounts for:
- Seating overhang
- Sink cutouts
- Cooktop cutouts
- Appliance clearances
- Support requirements
- Finished edges
How Do You Make an RTA Cabinet Island Look Custom?
RTA cabinets don’t have to look like a basic row of standard cabinets.
A few finishing decisions can make a major difference.
Use Decorative End Panels
Matching panels help hide exposed cabinet sides and create a finished furniture-like appearance.
Add Seating
A countertop overhang can transform one side of the island into a breakfast bar or casual dining area.
Use Contrasting Cabinet Colors
Using a different cabinet color for the island is a common way to make it stand out.
For example:
White perimeter cabinets + navy island
or
Light gray perimeter + natural wood island
NextDAY’s two-tone cabinet options can be explored through its two-tone kitchen cabinet guide, which covers color combinations, cabinet styles, and ways to use an island as a focal point.
Add Decorative Accessories
Depending on the cabinet line, you may be able to add accessories such as organizers or specialized storage components. NextDAY’s product resources include cabinetry accessories and organization products.
Can You Build a Kitchen Island With Wall Cabinets?
Wall cabinets generally should not be used as a direct substitute for standard base cabinets.
Base cabinets are designed around the dimensions and load requirements of floor-level cabinetry, while wall cabinets have different depths and construction considerations.
For a typical island, use appropriately sized base cabinets unless the cabinet manufacturer specifically provides another configuration designed for that application.
Choosing the right cabinet type also makes it easier to accommodate countertop depth and seating.
Can You Build a Kitchen Island From One Cabinet?
Yes, a small island can sometimes be created from a single base cabinet, although the final design will depend on the cabinet dimensions and the amount of storage and countertop space required.
A larger island is typically built by combining multiple cabinets.
For example, you could use two or three base cabinets together and finish the exposed sides with matching panels.
The advantage of using multiple cabinets is that the island can be configured around your specific storage and workspace needs.
How Many RTA Cabinets Do You Need for a Kitchen Island?
There is no universal number.
The number depends on the island’s intended size and function.
A small island may require only one or two cabinets, while a larger island could require several base cabinets plus panels and accessories.
Before ordering, create a complete cabinet list that includes every component required to complete the island.
Don’t forget:
- Base cabinets
- Drawer cabinets
- End panels
- Decorative panels
- Fillers
- Toe kick
- Hardware
- Supports
- Countertop
- Sink or appliance components, if applicable
Ordering the complete package at once can reduce the risk of discovering that a finishing component is missing after installation has started.
How Much Does It Cost to Build a Kitchen Island With RTA Cabinets?
The cost varies significantly based on cabinet size, cabinet brand, countertop material, hardware, accessories, and whether you install the island yourself or hire professionals.
RTA cabinets can reduce the cabinetry portion of the project compared with some pre-assembled alternatives. NextDAY’s current RTA comparison guide reports a typical 20–50% material cost difference versus pre-assembled cabinets, while a separate 2026 cost guide reports broader savings depending on the cabinet category and project.
However, the total island cost can include much more than cabinet boxes.
Typical additional expenses may include:
- Countertop fabrication
- Installation
- Electrical work
- Plumbing
- Hardware
- Panels
- Cabinet accessories
- Flooring repairs
- Appliance installation
For that reason, an RTA kitchen island should be budgeted as a complete project rather than simply a cabinet purchase.
Are RTA Cabinets Good for a DIY Kitchen Island?
RTA cabinets can be suitable for experienced DIYers, especially for relatively straightforward island configurations.
The cabinet assembly itself requires careful alignment and attention to manufacturer instructions. The installation becomes more complex when the island includes plumbing, electrical connections, appliances, or a heavy countertop.
NextDAY’s RTA guidance emphasizes proper assembly practices such as dry-fitting components, checking cabinet boxes for square, and using appropriate installation techniques.
A DIY cabinet assembly project is therefore very different from a DIY electrical or plumbing installation. Know which parts of the project are appropriate for your skill level and which require qualified tradespeople.
RTA Cabinets vs. Pre-Assembled Cabinets for a Kitchen Island
Both options can work well.
| Feature | RTA Cabinets | Pre-Assembled Cabinets |
|---|---|---|
| Shipping | Flat-packed | Fully assembled |
| Assembly | Required | Not required |
| Handling | Easier individual components | Larger and bulkier |
| Material cost | Often lower | Often higher |
| DIY suitability | Good for capable DIYers | Easier installation |
| Job-site assembly | Required | Minimal |
| Best for | Cost-conscious and flexible projects | Fast installation |
NextDAY currently offers both RTA and assembled cabinetry, allowing contractors and builders to choose the format that fits their project timeline and installation resources.
For a more detailed comparison, read RTA vs. Pre-Assembled Cabinets: Cost, Quality & Installation.
What Are the Most Common Kitchen Island Building Mistakes?
A few planning mistakes can create expensive problems.
Making the Island Too Large
An island should improve kitchen workflow rather than restrict movement.
Forgetting Door Clearances
Check nearby refrigerators, dishwashers, ovens, and pantry doors before finalizing the island location.
Ordering the Wrong Cabinets
Confirm every cabinet’s width, depth, height, door swing, and configuration before placing the order.
Forgetting Finished Panels
Exposed ends and backs need to be included in the design from the beginning.
Installing the Countertop Before Leveling
The cabinet base must be properly aligned and secured before countertop installation.
Ignoring Utilities
An island containing a sink, cooktop, outlets, or appliances needs utility planning before the cabinetry is installed.
Treating RTA Assembly as a Shortcut
RTA cabinets can improve project economics and logistics, but careful assembly still matters. Poor alignment can create door, drawer, and installation problems.
How Can Professional Kitchen Design Help With an RTA Island?
A professional cabinet designer can help translate your kitchen measurements into a practical cabinet layout before you purchase the materials.
This can be particularly valuable when your island involves:
- Multiple cabinet sizes
- Seating
- Appliances
- Plumbing
- Electrical outlets
- Contrasting cabinet colors
- Limited clearance
- An open-concept kitchen
NextDAY offers professional design support and 3D kitchen design services as part of its trade-focused cabinet sourcing process.
This can help identify cabinet conflicts and missing components before the cabinets arrive at the jobsite.
Where Can You Buy RTA Cabinets for a Kitchen Island?
When choosing an RTA cabinet supplier, consider more than cabinet price.
Look at:
- Cabinet construction
- Available sizes
- Door styles
- Finish options
- Hardware
- Accessories
- Replacement-part availability
- Delivery times
- Design support
- Showroom access
- Trade pricing
NextDAY Cabinets distributes RTA and assembled kitchen cabinets across the Mid-Atlantic and greater Chicago markets and operates showrooms and pickup locations in several markets.
The company currently promotes 3–5 day lead times on many orders, although actual availability can vary by product and location.
You can explore the NextDAY Cabinets product collection to review cabinets, accessories, and other project products.
Kitchen Island RTA Cabinet Buying Checklist
Before ordering, confirm the following:
Layout
- Island length
- Island width
- Walkway clearance
- Seating locations
Cabinets
- Cabinet widths
- Cabinet depths
- Cabinet heights
- Door style
- Finish
- Drawer configuration
Finishing Components
- End panels
- Back panels
- Fillers
- Toe kick
- Hardware
Countertop
- Material
- Overhang
- Edge profile
- Sink/cooktop cutouts
- Structural support
Utilities
- Electrical
- Plumbing
- Appliances
- Ventilation
Installation
- Cabinet assembly
- Leveling
- Floor anchoring
- Countertop installation
A complete checklist helps prevent the most common ordering and installation problems.
Final Thoughts: Building a Kitchen Island With RTA Cabinets
Learning how to build a kitchen island with RTA cabinets starts with good planning rather than tools.
First, measure the available space and determine the island’s purpose. Next, select base cabinets that fit the layout and assemble each cabinet carefully. Once the cabinet boxes are aligned, connect and anchor them securely. Finally, complete the island with finished panels, toe kicks, hardware, and a properly supported countertop.
The biggest advantage of using RTA cabinets is flexibility: you can create a practical island from standard cabinetry while controlling material costs and project logistics.
For contractors, builders, and homeowners looking for cabinetry for an island project, NextDAY Cabinets offers RTA and assembled kitchen cabinets, multiple cabinet lines, professional design support, and showroom access across its service area.
Frequently Asked Questions About Building a Kitchen Island With RTA Cabinets
Can I build a kitchen island using RTA cabinets?
Yes. Standard RTA base cabinets can be combined to create a kitchen island, provided the configuration is properly planned, assembled, aligned, and secured.
How many cabinets do I need for a kitchen island?
It depends on the island’s size and purpose. A small island may use one or two cabinets, while a larger island can combine several cabinets with finished end and back panels.
Do RTA cabinets need to be assembled before installation?
Yes. RTA cabinets are supplied as ready-to-assemble units and generally need to be assembled before they are installed or joined into the island configuration.
Can I install an island myself?
An experienced DIYer may be able to assemble and install a straightforward cabinet island. Electrical, plumbing, gas, or other specialized work should be completed by qualified professionals where required.
How much clearance should I leave around a kitchen island?
Approximately 36 inches is a common starting point for general circulation, but the appropriate clearance depends on the specific kitchen, appliances, accessibility needs, and workflow.
Can I add seating to an RTA cabinet island?
Yes. A countertop overhang can create seating space, provided the countertop is properly supported and there is enough room for comfortable leg clearance.
Do kitchen islands need to be attached to the floor?
A cabinet island generally needs to be securely anchored so it does not shift during normal use. The appropriate fastening method depends on the floor and cabinet construction.
Can I use wall cabinets to build a kitchen island?
Wall cabinets are not generally a direct substitute for base cabinets. Base cabinets are designed for floor-level applications and countertop support.
Are RTA cabinets cheaper than pre-assembled cabinets?
RTA cabinets can be less expensive than comparable pre-assembled cabinetry. NextDAY’s current comparison guide estimates a 20–50% material cost difference depending on the project.
Can I make my kitchen island a different color from the rest of the kitchen?
Yes. A contrasting island is a popular two-tone kitchen design approach. You can use the island to introduce a second cabinet finish while keeping the perimeter cabinetry consistent.
Can I put a sink in an RTA kitchen island?
Yes, but the island requires appropriate plumbing, cabinet configuration, countertop preparation, and installation planning.
Can I put a cooktop in a kitchen island?
A cooktop can be integrated into an island, but this requires appropriate cabinet, countertop, ventilation, and electrical or gas planning.
How do I make an RTA island look custom?
Finished end panels, decorative back panels, a quality countertop, appropriate hardware, seating, and carefully selected cabinet colors can give an RTA island a more built-in appearance.
Where can contractors buy RTA kitchen cabinets?
NextDAY Cabinets supplies RTA and assembled kitchen cabinetry for contractors, builders, and dealers across the Mid-Atlantic and greater Chicago markets.
Does NextDAY Cabinets offer kitchen design assistance?
Yes. NextDAY provides professional design support and 3D kitchen design services for trade customers.
Where can I see NextDAY cabinet styles and finishes?
You can browse the NextDAY Cabinets collection and review the company’s cabinet catalogs to compare available product lines and styles